In the slips modules, use the Slips summary for easy navigation and review. This is especially useful if you have a file with many slips in it.
Customizing Columns
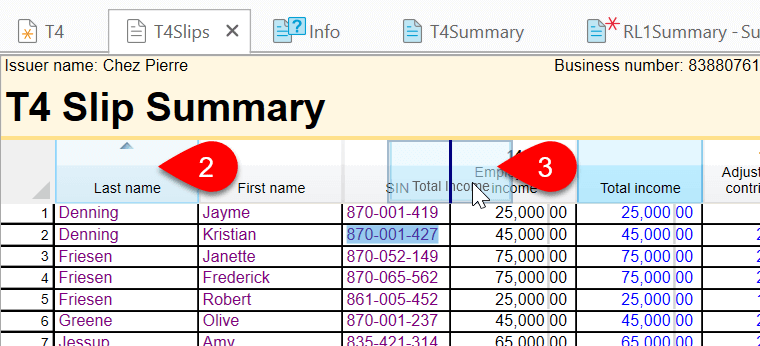
When you scroll through the list of slips, the column headings stay fixed at the top of the table.
Click on a column heading to perform an ascending sort (from A to Z, or the smallest number to the largest). Click again to perform a descending sort (from Z to A, or largest number to smallest).
Drag and drop a column heading to move the column to a different position.
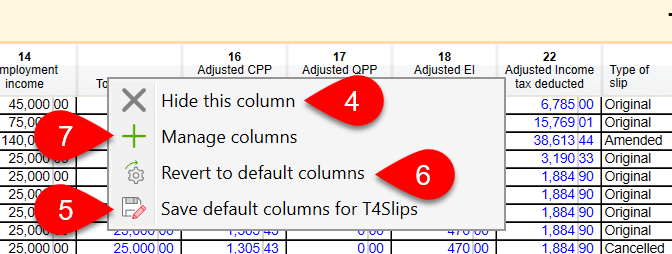
Right-click on a column heading and select Hide this column to remove a column from the summary.
To save your layout as the default for this form in ALL files you open, right-click on a column heading and select Save default columns.
If you make additional changes to the column layout, you can revert to the last-saved set of default columns by right-clicking on the column heading and selecting Revert to default columns.
Right-click on a column heading and select Manage columns to add or remove columns from the summary and change the order in which columns appear.
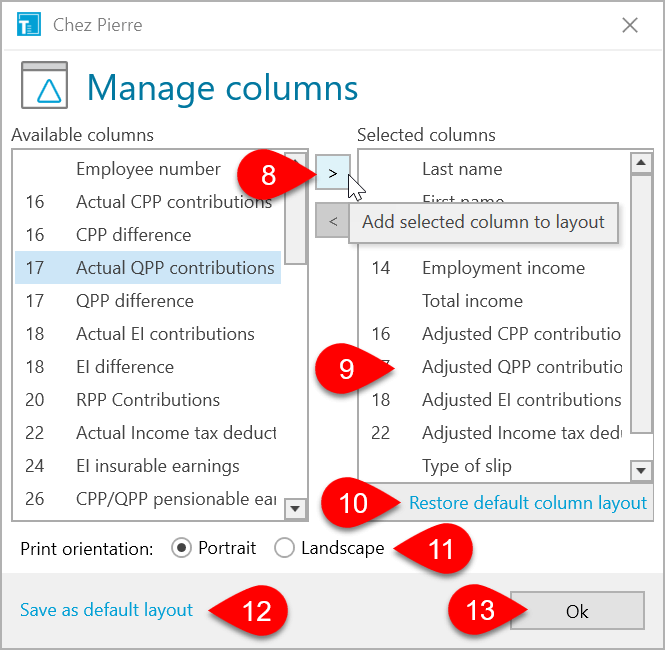
Select an entry in the Available columns list on the left and click the arrow to move it to the list of Selected columns on the right. Select an item on the right and drag it to the left to remove the column. You can also drag entries between columns.
Drag and drop items in the Selected columns list to change the order they appear on screen.
Click Restore default column layout to revert to the column layout that originally came with TaxCycle.
Select the Print orientation (portrait or landscape) of the summary.
Click Save as default layout to save your layout as the default for this form in ALL files you open.
Click OK to save your changes.
Editing Slips on the Summary
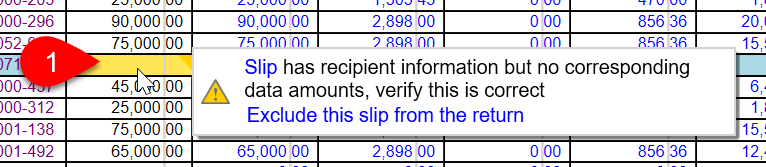
Hover over a cell with a review message to read the message. Click in a cell with black text to edit an amount or value. The change flows back to the recipient’s slip.
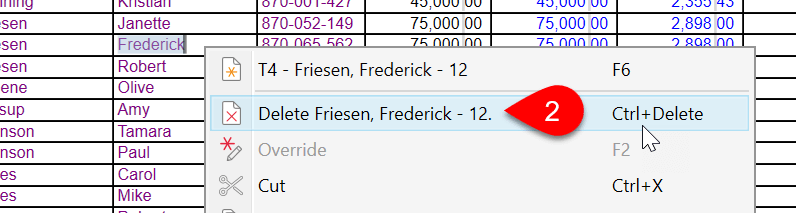
Right-click on a row and select Delete (or press Ctrl+Delete) to delete a slip.
Double-click the first or last name of a recipient to jump to the slip.
Add review marks to the Slips summary so that it doubles as a checklist to review data entry.
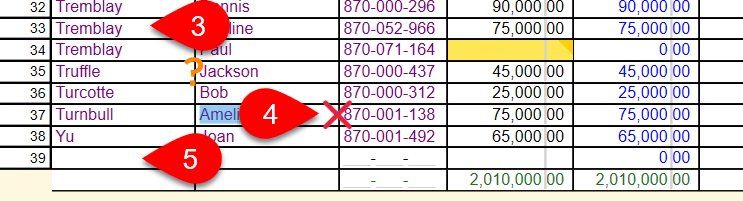
Scroll to the end of the list to enter a new slip in the blank row at the bottom of the table.