Find files to add to the batch. Type a keyword in the Search box, and/or select filters in the Quick Searches sidebar to narrow the results. See the Search, Quick Searches and Custom filters help topics.
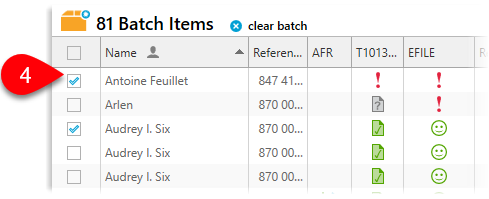
In the List returns view, check the boxes in the column at the far left to add to batch. Or, to check all boxes in this column, check the box in the heading of the column. See the Views help topic to learn more.
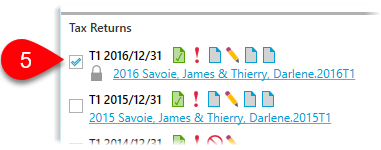
In the Client card view, check the box next to the file name in the preview to add a file to batch. See the Views help topic to learn more.
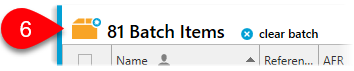
When you have selected all the files you need, click the batch box to go to the batch screen.
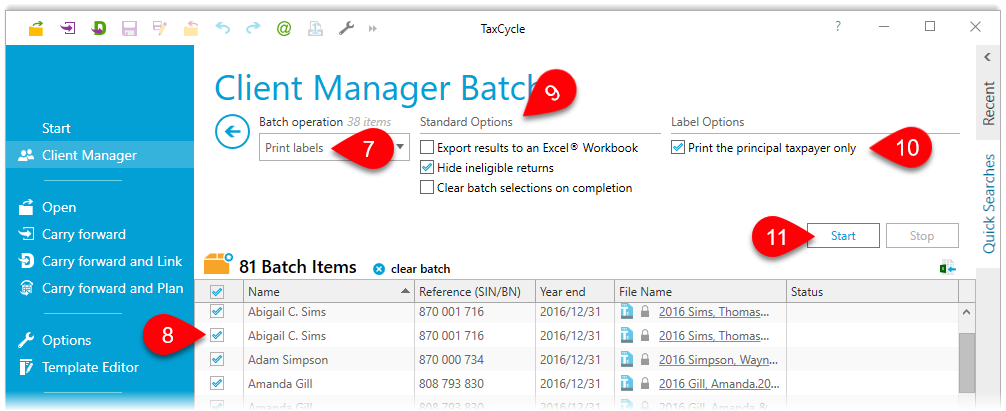
Select Print labels from the Batch operation drop-down list.
To remove a file from the batch, click the check box next to the client name.
Check the standard batch options you need, including:
Export the results of the operation to Microsoft Excel®.
Hide files that are ineligible for the selected operation.
Clear the batch of files upon completion. (Do not check this if you want to see results in the table underneath.)
If required, check the option to print labels for the principal taxpayer only in coupled or family files.
Click Start.
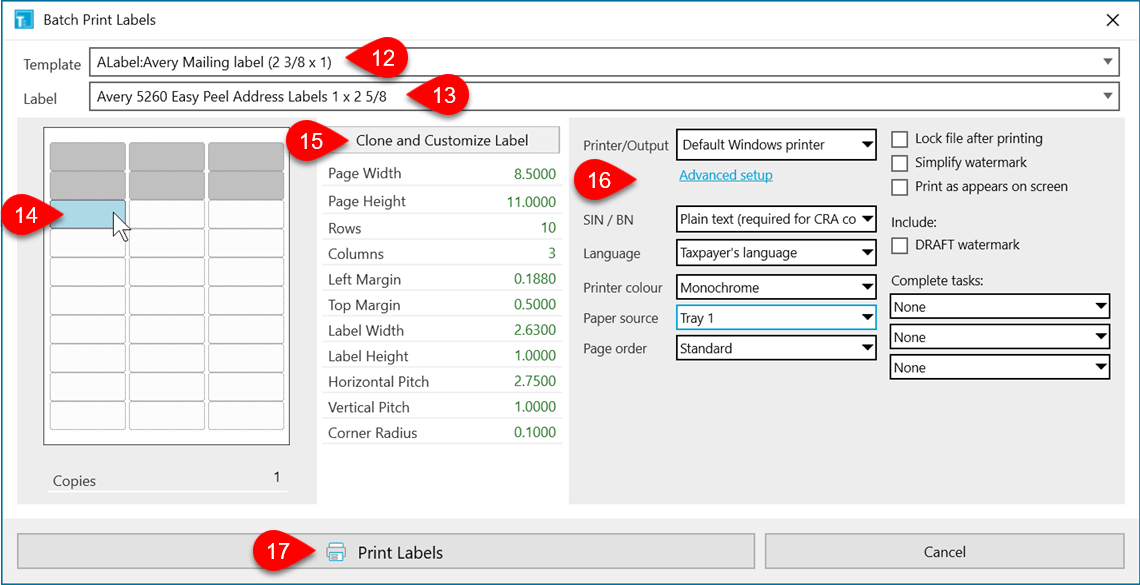
In the Batch Print Labels dialog box, select the Template for the label. This defines the size of the label and the information that appears on the label. TaxCycle comes with a few built-in label templates. As long as one of these fits on your labels, you can use it. Or, use the Template Editor to create your own label template. See the Label templates help topic to learn about creating templates.
From the Label drop-down box, choose the type of sheet label you are printing to. TaxCycle supports many different Avery labels.
If you are working with a partially-used sheet of labels, click on the first label in the sheet you want to use.
Click Clone and Customize Label to change the label settings. This creates a new entry in the Label drop-down so you can save your settings. Enter a new name to find it easily next time. Label settings are stored in local options or Options Profiles. To change the location where they are stored, see the Printer Settings help topic.
Adjust the Printer/Output settings to point to the printer with the labels in the paper tray.
Click Print Labels.
Wait while the Client Manager prints a label for each file. The Status column updates with the results after printing.