Menu

Send a Document for Signature or Approval from TaxFolder

Updated: 2024-04-08

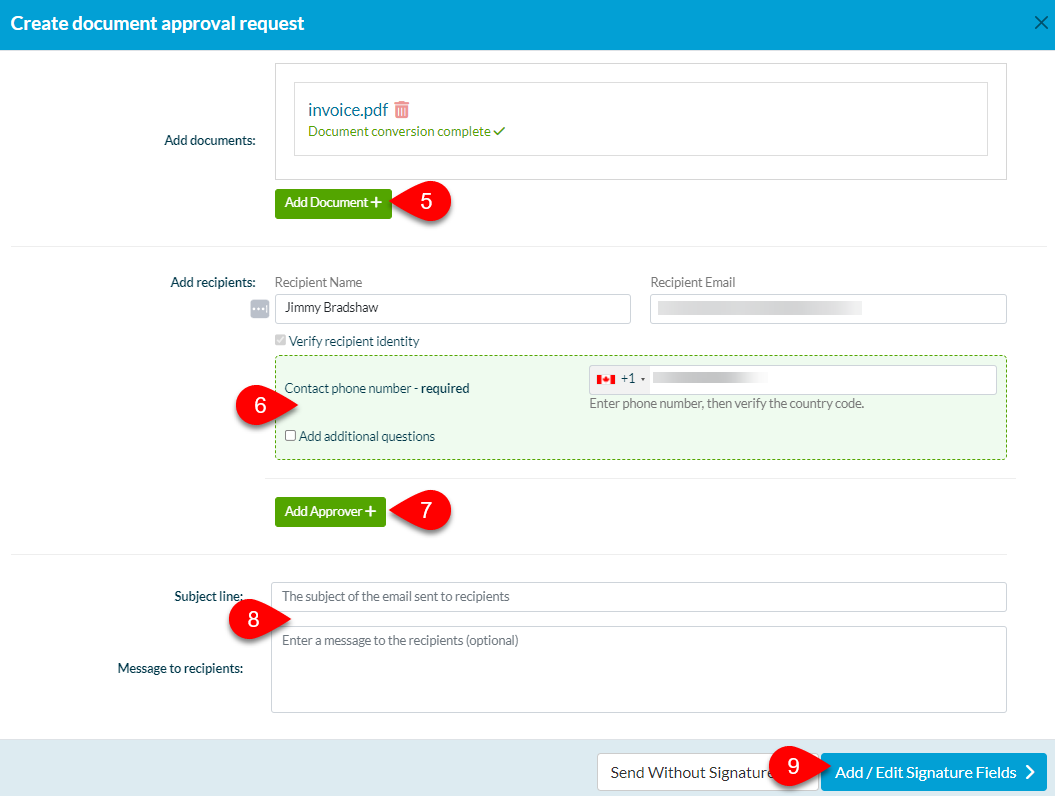
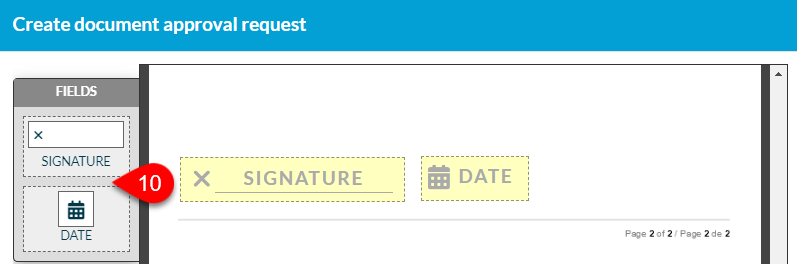
You can use TaxFolder to send ANY PDF document for signature or approval by uploading the document through the TaxFolder website. (To send a document for signature or approval when printing from TaxCycle, see the Request Signatures via TaxFolder from TaxCycle help topic.)

Unique Email Address Required

You cannot add a person as a team member AND a client using the same email address. If you want to send documents to yourself or others who have access to the TaxFolder Preparer Dashboard, you must use a separate email address when you treat those people as a client (request signatures, etc. from them). It cannot be the same email address they use to sign in to the Preparer Dashboard as a tax preparer.

In addition, when you go to sign or approve a document sent to that “client” email address, we also recommend using a different browser (not just a different browser window or tab). While you may first sign out of the browser where you are signed in as a preparer, using a separate browser ensures it will use the correct sign in session and cookies.

  1. Sign in to TaxFolder.
  2. Find the client in your Preparer Dashboard or add a client to TaxFolder.
  3. Click on the client’s name in the Client List or In Progress tab to view their client record.
    Screen Capture: Client name in Dashboard
  4. Under Approvals and Signatures, click the New Approval Request button. 
    Screen Capture: New Approval Request Button
  5. In the window that appears, drag and drop a document onto the box at the top of the window to upload it, or click the Add Document button.
  6. Review the Recipient details. In particular, the contact phone number—either mobile or landline—is used to verify the identity of the client before signing or approving the document. If your client does not have a mobile phone number, you can use a landline to verify their identity; it will call the landline rather than sending an SMS message.
  7. If you need more than one person to sign or approve the document, click Add Approver to enter the details for a second recipient.
  8. Enter the Subject and Message.
  9. Click the Add / Edit Signature Fields button to mark the places where signatures are required. If you are only requesting approval from the client, you do not need to add signature fields.
    Screen Capture: Create document approval request window
  10. Drag and drop the signature and date fields on the document. Screen Capture: Signature and date fields
  11. Click Send for Signature.
  12. TaxFolder sends an email to the client requesting their signature or approval on the document. To learn about the process for signing a document, see How to Sign a Document in TaxFolder.
  13. You will receive an email once your client signs or approves the document and can then view the final document through the Preparer Dashboard in TaxFolder.