Menu

Error: Remote name not resolved

Updated: 2022-08-11

These instructions address the issue where you are unable transmit returns to the CRA and see the following error message when you try to transmit a return to the CRA:

The remote name could not be resolved: 'apps.cra-arc.gc.ca'

This error may be due to the DNS servers for your hosting provider not allowing you to access the CRA's site. 

Confirm it is a DNS error

The first step is to confirm this is indeed caused by a DNS error. To check:

  1. Try visiting the following URL in your web browser (please try Internet Explorer or Firefox, as Google Chrome uses different DNS settings): https://apps-ct.cra-arc.gc.ca
  2. If you get the message "Can't find the server at apps.cra-arc.gc.ca." your DNS might not be working. Try the changing your DNS settings to resolve the issue (see below).

Change DNS Settings

The following instructions will change to point your computer to use Google's public DNS server.
Windows 10:

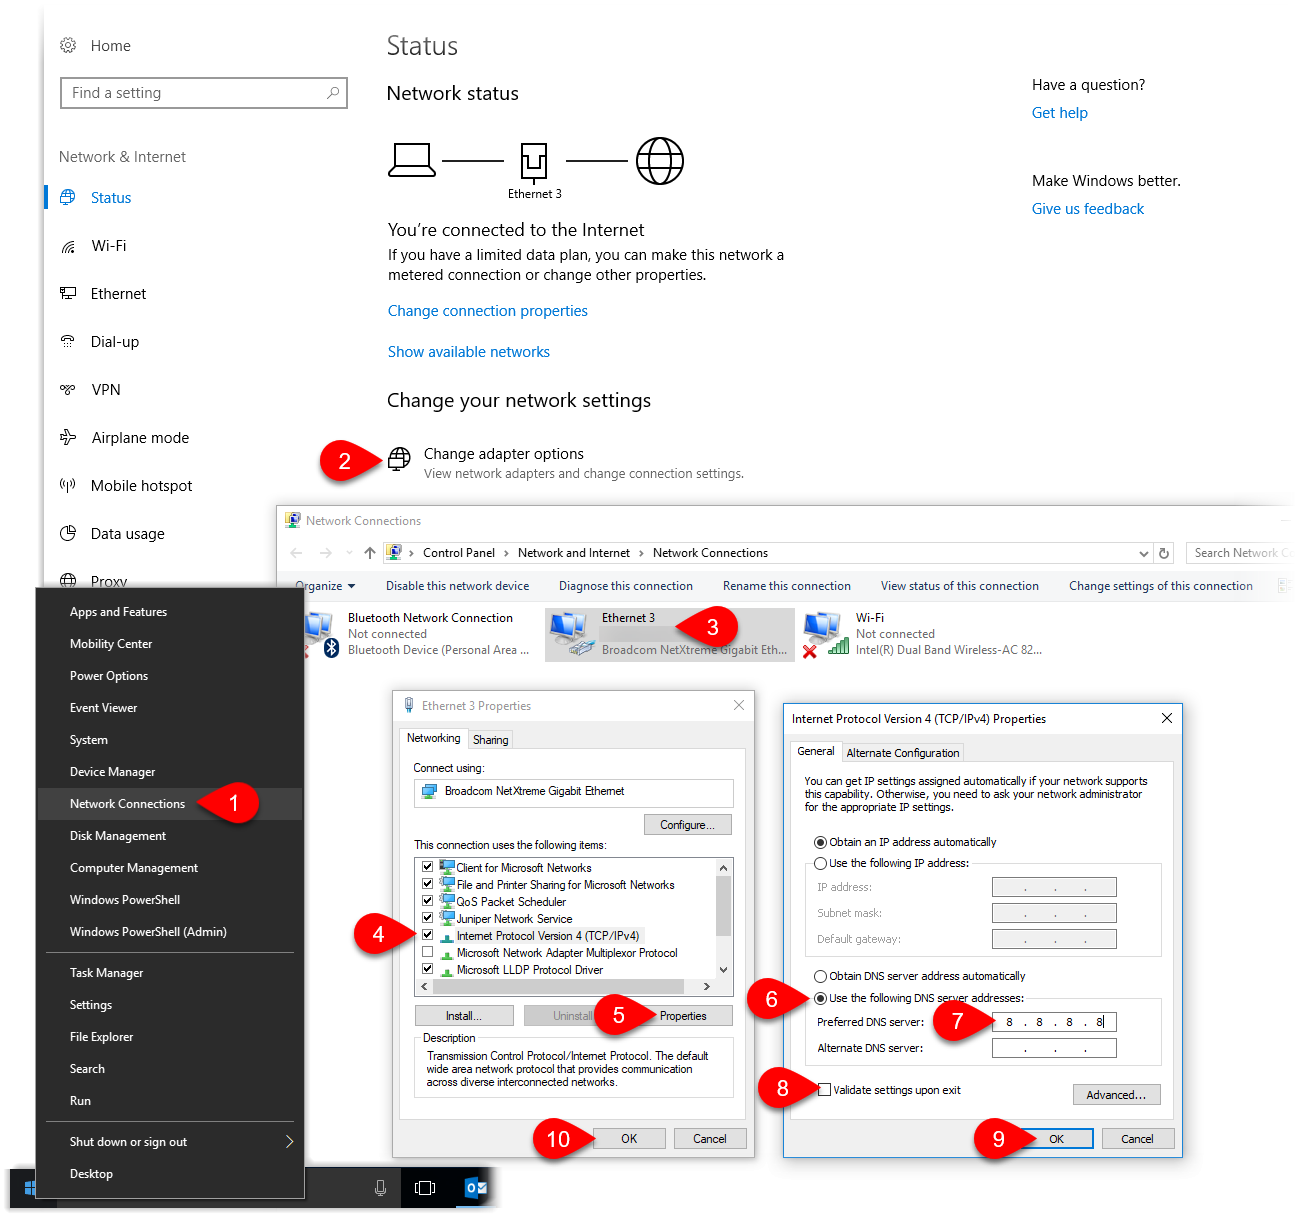
  1. Right-click on the Windows Start button and select Network Connections.
  2. On the Network Status page, click Change adapter options.
  3. Right-click on the connection for which you want to change the settings, and select Properties.
  4. In the list of This connection uses the following items, scroll until you find Internet Protocol version 4 (TCP/IP), and click on it.
  5. Click the Properties button.  
  6. On the General tab of the Internet Protocol Version 4 (TCP/IP) Properties dialog, select Use the following DNS server address.
  7. Enter 8 8 8 8 for the preferred DNS server.  
  8. Check Validate setting upon exit.  
  9. Click OK.
  10. Click OK.

dns-change-win10


Windows 7:Changing DNS Settings, Windows 7

  1. You will need Administrator permissions to make this change.
  2. Click on the Start button and in the Enter programs and files box type Network and Sharing Center.
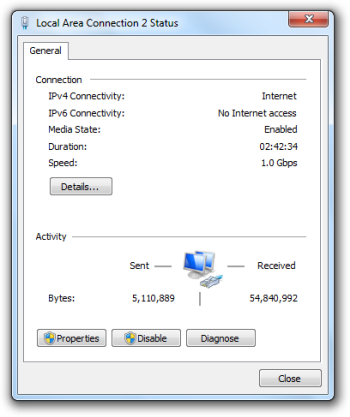
  3. Under View your active networks section, click on your current connection. For example, Local Area Connection.
  4. On the Properties dialog for your network connection, click Properties…
  5. In the list of This connection uses the following items, scroll until you find Internet Protocol version 4 (TCP/IP). Click on it and then click the Properties… button.  
  6. On the General tab of the Internet Protocol Version 4 (TCP/IP) Properties dialog, check Use the following DNS server address.
  7. Enter 8 8 8 8 for the preferred DNS server.  
  8. Check Validate setting upon exit.  
  9. Click OK.
  10. Click Close.
  11. Wait for the validation to finish.
  12. Click Close
  13. Click Close again