|
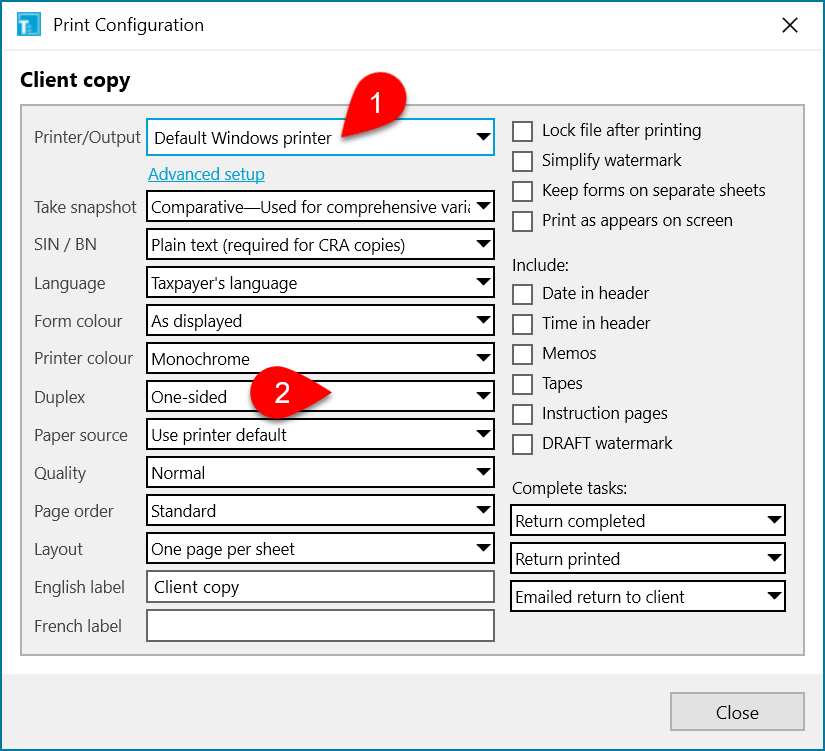
Advanced setup
For all printers.
|
Configure printing using your printer’s Windows® printer driver. If you use the driver settings, TaxCycle hides options in its print configuration that are already handled by the driver. Click the Clear link to revert to TaxCycle’s settings.
|
|
Ask client to upload documents
For PDF and XPS output formats.
|
Send an email requesting the client upload documents into TaxFolder. For new clients, this also sends an email for the client to activate their account.
|
After generation
For PDF and XPS output formats. |
Set what happens after a PDF or XPS file is created:
- Do nothing—leave the file where it is.
- Open PDF or XPS for viewing—open the file in the default program set in Windows.
- Print PDF or XPS—send the file directly to the printer.
|
Create one file for each slip recipient
For PDF and XPS output formats. |
When generating a PDF or XPS file, separate the slips into separate files so that they are easy to distribute to recipients. |
Complete tasks
For all printers and output formats. |
Complete up to three workflow tasks upon printing. See the Workflow Groups and Tasks help topic to learn more about customizing workflow.
|
|
Date in header
For all printers and output formats.
|
Insert the date in the header of each page.
|
DRAFT watermark
For all printers and output formats. |
Print DRAFT watermark in the background of all forms. |
|
Duplex
For printers with duplex capabilities.
|
Print on one or both sides of a sheet of paper. Long edge creates a stack that turns pages right to left (like a book). Short edge creates a stack that you flip up (like a notepad).
|
|
Email
For PDF and XPS output formats.
|
Indicate how to send the PDF file. Choose between:
|
|
File name
For PDF and XPS output formats.
|
Specify a file name format for output files. Use variables to create a format for the PDF or XPS file name based on the data in the tax return.
For example {Name} {ClientNumber} {Year} creates a file name like John-870xxxxxx-2018.pdf
Click the down button on the field to see possible variables and examples of their use.
|
|
Form colour
For all output formats.
|
Change the form colour that is printed for TaxCycle worksheets (not government forms). Options include:
- As displayed—with the colour background for the headings.
- Reduce toner—no background on headings, so it uses less toner.
- Greyscale—black and white. (For when you don’t want to colour on your colour printer.)
|
|
Keep forms on separate sheets when duplexing
For all printers.
|
For forms with an odd number of pages, selecting this option leaves the back side of the last page blank so that the first page of the next form does not print on the back of the previous form.
|
|
English label
For all printers and output formats.
|
Enter the text to appear in the header of all pages when printing in English. When possible, this defaults to the name of the print set. Leave this field blank to leave the header blank.
|
|
French label
For all printers and output formats.
|
Enter the text to appear in the header of all pages when printing in French. When possible, this defaults to the name of the print set. Leave this field blank to leave the header blank.
|
Instruction pages
For all printers and output formats. |
For any form with a separate instructions page, check this box to print the instructions page as well. Clear the check box to omit the instructions page.
|
Invite new client to TaxFolder
For TaxFolder only. |
Check this box to send an email invitation to a new client, asking them to activate their new TaxFolder account. Clear this box to prevent the email invitation and only send an email requesting signature or approval of a document.
This check box works together with a Notification setting in TaxFolder. Both must be enabled for new clients to receive an email invitation to create an account in TaxFolder, triggered by a request from TaxCycle.
|
|
Language
For all printers and output formats.
|
Choose the language in which the forms will print:
- Taxpayer’s language—Print the forms in the language set on the Info worksheet for the taxpayer.
- English—Print all forms in English
- French—Print all forms in French
|
|
Layout
For all printers.
|
Print one page, two pages or four pages on a single sheet of paper.
|
Lock after printing
For all printers. |
Lock the file after printing. See the Data Locking help topic. |
Memos
For all printers and output formats. |
Print memos on a separate sheet after the form on which they appear. |
|
Message
For PDF and XPS output formats.
|
Choose a cover email message to use and attach the PDF file to. These are email templates.
|
|
Overwrite existing file
For PDF and XPS output formats.
|
If there is a file with the same name in the same location as the one being created, this setting will overwrite the file without first confirming.
|
|
Page order
For all printers.
|
Choose to print either in the standard order or in the reverse order.
|
|
Paper source
For printers with multiple trays.
|
Choose which tray to print from. If you want some forms to go to one tray and some to go to another, create a separate print set for those forms.
|
|
Password
For PDF output formats.
|
Set a password for each file. Options include:
- None—Do not set a password.
- Last six digits of SIN—The password is the last six numbers in the client’s Social Insurance Number, Business Number (before the RC0001) or Account Number.
- Specify—Enter a password to use.
|
PDF navigator
For PDF and XPS output formats. |
What to show when opening the PDF:
- Viewer’s choice uses the last setting of the PDF viewer.
- Closed navigator.
- Open to bookmarks.
- Open to thumbnails.
|
|
Prevent editing
For PDF and XPS output formats.
|
Lock the PDF file so that it cannot be edited. You can still open, view and print the file, but the file cannot be changed.
|
|
Print as appears on screen
For all printers and output formats.
|
Print the form so it includes all the content you see on the screen. This may also hide other content that is usually only available in the printed version. DO NOT use forms printed this way to send to tax agencies as they do not meet the certification and approval requirements.
|
|
Printer colour
For printers capable of printing in colour.
|
For printers capable of printing in colour, choose between greyscale (black and white) or colour output.
|
|
Publish to SlipSync
For all printers and output formats.
|
Publish slips to SlipSync to share slips with other returns. Choosing a federal slip name also publishes the associated Québec RL slip(s) when available.
|
|
Quality
For all printers.
|
Choose the quality of the print out: normal, draft, superior.
|
Reduce margins
For PDF and XPS output formats. |
Narrow the white space around the page. |
Request approval
For TaxFolder only. |
Send document for approval using TaxFolder. |
Request signature
For TaxFolder only. |
Send document for signature using TaxFolder. |
Require additional Knowledge Based Authentication questions
For TaxFolder only |
When requesting a signature through TaxFolder, require that the signer answer additional questions to verify their identity. This is only applicable to T1 returns. |
Review marks
For all printers and output formats. |
Include review marks when printing. |
|
Save to
For PDF and XPS output formats.
|
Indicate where to save the output PDF or XPS file. Choose between:
- Prompt—Ask each time you print where you want to put the file.
- With tax return—In the same location as the TaxCycle file.
- Desktop—On the desktop.
- Other folder—Specify a folder.
- Prompt, with default folder—Ask each time you print where you want to put the file, but start in a default folder.
- Temporary folder—Place the file in a temporary folder, then delete it after sending it by email.
|
Share documents
For PDF and XPS output formats. |
Share the documents with a client using the client portal. |
Simplify watermark
For all printers and output formats. |
Reduces the detail in watermarks that appear on certain forms like the T1013, T1 Condensed, T1135 and T7DRA. When you enable this option, the watermark is printed in full black—rather than greyscale—to optimize printer resources. This is especially helpful when printing them in large batches. |
SIN/BN
For all printers and output formats. |
Mask Social Insurance Numbers (SIN) or Business Numbers (BN) when printing to paper or creating a PDF.
- Plain text (required for CRA copies)—This displays the SIN/BN in the header printed and PDF copies.
- Hide for security—Removes the SIN or BN from forms.
- Mask first five digits for security—Replaces the first five digits of the SIN or BN with asterisks. For example, *****1336. (Recommended when sending T183 and other forms for digital signature.)
Do not mask SIN or BN when paper filing! The CRA requires that forms T1134 and T1135 show the full SIN or BN when printed for paper filing. Revenu Québec also requires full SIN or BN on all its forms, except for the CO-1000, TP-1000 and MR-69. To help you comply with these requirements, TaxCycle will automatically disregard any masking set in this option unless the form or return was already filed electronically.
|
Slip file name
For PDF and XPS output formats. |
This field appears when you check the box Create one file for each recipient. Similar to the File name field, it allows you to select variables for the naming of individual slips.
This list includes variables for the Slip Issuer. Note that any variables that reference the “Client” will use the recipient information. For example, Client SIN or Business Number, will insert the SIN or Business Number of the slip recipient rather than the slip issuer.
|
|
Take snapshot
For all printers and output formats.
|
Choose the type of snapshot to take when printing this return.
|
Tapes
For all printers and output formats. |
Print tapes on a separate sheet after the form on which they appear. |
Time in header
For all printers and output formats. |
Insert the time in the header of each page. |