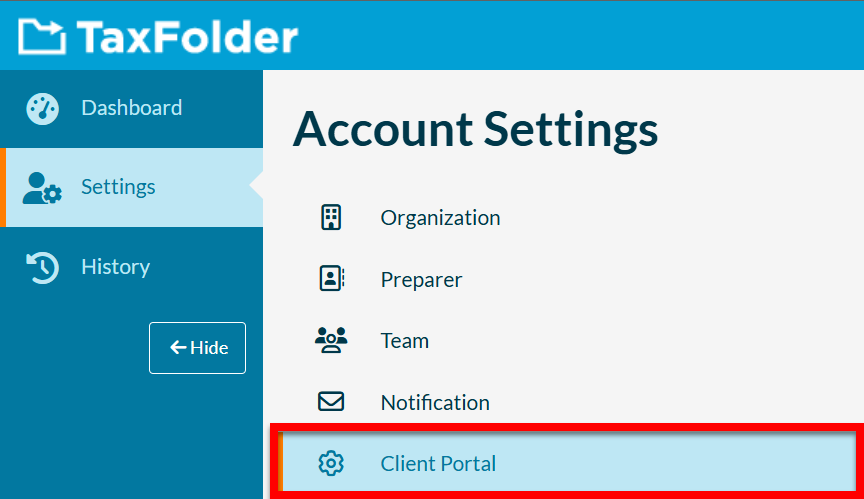
Menu

Client Portal Settings

Updated: 2022-11-18

From the Client Portal page in TaxFolder Account Settings, you can control what actions are available to your clients in the Client Portal as well as update your Engagement Branding and Site Branding

Client Portal Settings

You can allow clients to upload files in the client portal by checking the File Sharing box on this page.

  1. Clearing the Allow clients to upload files checkbox allows you to hide the My Documents tab in the client portal, preventing document uploads. If you clear this checkbox, your clients can still access Signature/Approval Requests and documents shared with them in the Preparer Documents tab.
  2. To hide the My Documents tab for ALL existing engagements, check Apply this setting to all existing engagements tied to this firm. This does not delete any files previously uploaded; you can still retrieve them on the engagement in the Client Dashboard. It only hides them from the client.
  3. Click Save Updates to apply these changes.

Screen Capture: Client Portal Settings in TaxFolder

Engagement Branding

Choose how you would like your firm branded in engagements with clients. See also Updating Business and Preparer Email and Phone Number in TaxFolder.

  1. If you prefer to relate the branding of engagements and other communications in TaxFolder to the preparer assigned to the engagement, select Preparer name.
  2. If you prefer to relate the branding of engagements and other communications in TaxFolder to your business, select Business name.
  3. Click Save Updates.

Screen Capture: Engagement Branding in TaxFolder

Site Branding

Upload a logo to display it in the emails sent from TaxFolder to your clients and on the pages where your clients interact with TaxFolder. If you do not upload a logo, emails and pages will use the TaxFolder logo.

The optimal size for logos is 200px wide by 100px high.

  1. Click Upload Image to upload your company logo.
  2. Use the zoom slider to change the size of the image if required. The zoom slider only appears when you upload a new image.
  3. Click the red Delete image icon icon to delete the image. 
  4. At the bottom of the page, you can Preview what your clients will see on their portal.
  5. Click Save Updates.

Screen Capture: Site Branding in TaxFolder