TaxFolder Client Portal
You can invite clients to upload documents to the client portal at the same time as requesting an electronic signature.
Clients must complete the activation of their TaxCycle Account to sign in to the portal. If they’ve lost that activation email or it has expired, the invitation will need to be resent.
Once a client has access to the portal, they can see all the documents they’ve shared, signed, or that you’ve shared with them, grouped by engagement.
Sign In to the Client Portal
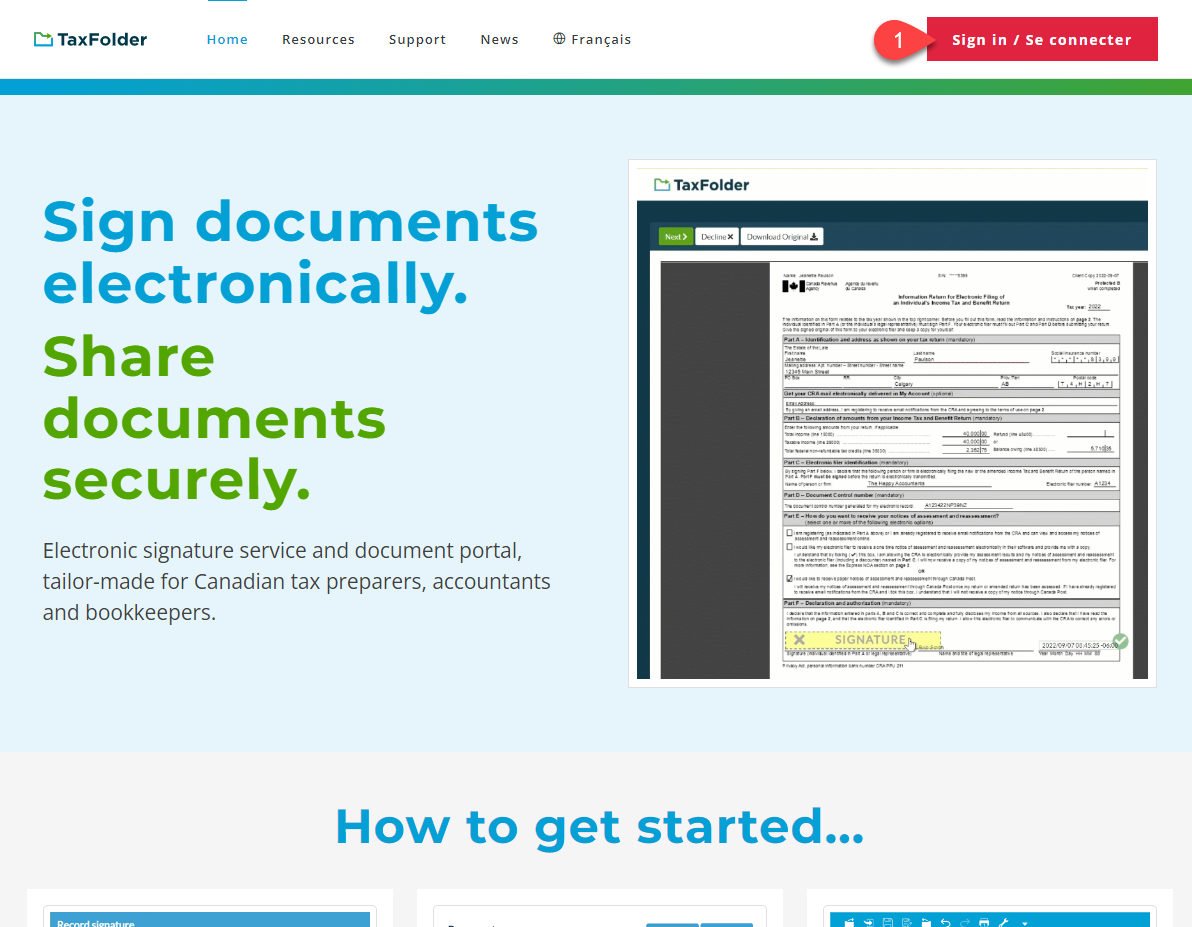
Clients can access their portal through one of two ways:
- Going directly to taxfolder.com and clicking the Sign in / Se connecter button, or
- Clicking on a link in an email sent from TaxFolder and going directly to the TaxCycle Account sign-in page.
- After successfully signing in, they are automatically redirected to their client portal.
Engagements
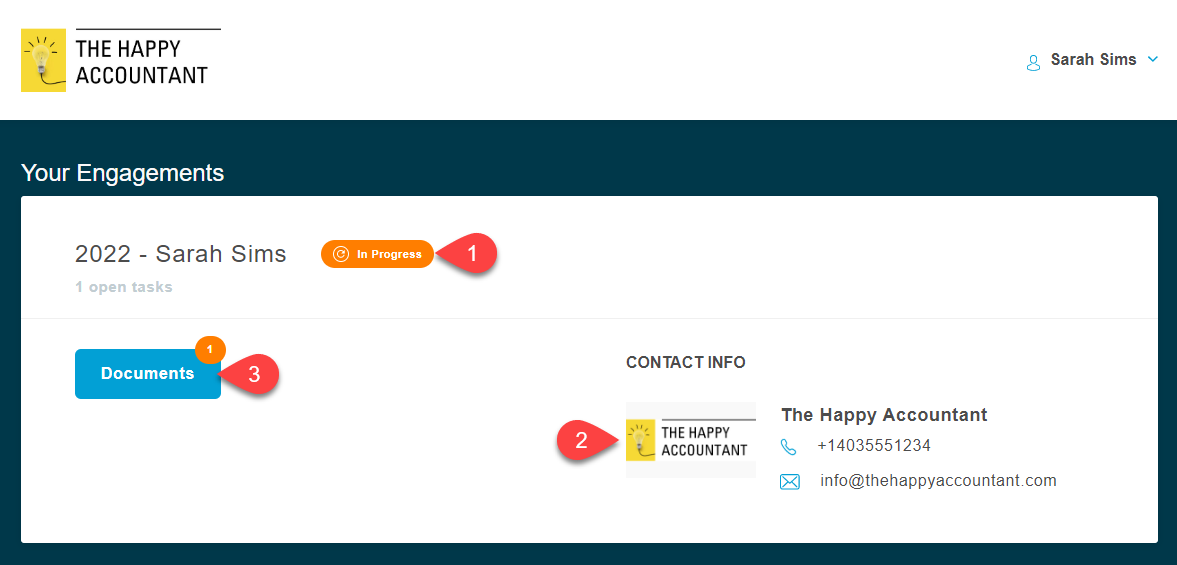
The client portal lists all the engagements that you have created for them in the Client Dashboard. For more information, see our help topic Managing Engagements in TaxFolder.
- Each engagement displays in its own box along with its status: an engagement is either Complete or In Progress.
- Under CONTACT INFO, clients can see the tax preparer and firm assigned to the engagement, as well as the preparer's or company’s email address and phone number—depending on how you have configured your firm settings in TaxFolder Account Settings.
- To view documents related to an engagement, click the Documents button. The orange bubble with a number indicates how many documents require a signature or an authorization.
Documents
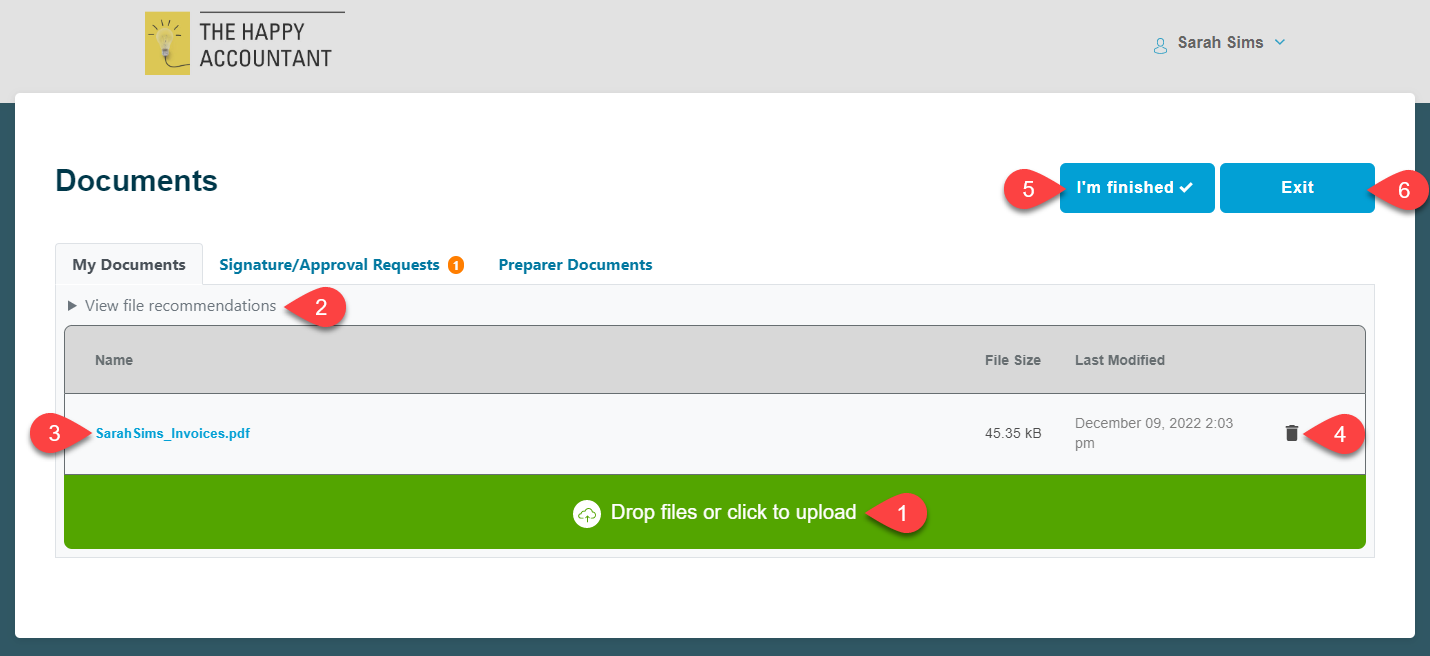
The Documents area for an engagement has three tabs:
- My Documents—documents that clients' control.
- Signature/Approval Requests—documents you sent to the client for signature or approval. This includes documents they have already approved or signed and those awaiting signature or approval. If the tab has an orange bubble, a document is awaiting signature or approval.
- Preparer Documents—documents you control, such as final copies of your client’s tax return, or any other documents you share with them.

My Documents Tab
- Under the My Documents tab, clients can drag and drop files onto the file area. They can also click the green area to browse for documents to upload.
- Click View file recommendations to display supported file formats and recommended document specifications, including scan, upload and file size settings.
- After uploading, clients can view their documents by clicking on the document name. These documents will also be accessible to you in the preparer dashboard—see Client Documents Uploaded to TaxFolder.
- Clients can remove any document uploaded in this section by clicking the trash
 icon.
icon.
- Clients can click I’m finished when they are finished uploading their documents. This sends a notification to the preparer that all the files have been uploaded and the tax return can be started.
- When clients are finished processing their documents, they can click Exit to return to the Your Engagements screen.
Signature/Approval Requests Tab
On the Signature/Approval Requests tab, clients see the list of documents you have sent them for signature or approval. This includes pending requests and those that are already completed.
- The Status column indicates if the request is pending, completed, or expired.
- Clients can click on the description or the button in the View column to view and/or sign the document. For pending requests, this goes to the signature/approval process. For more details on how this works, see How to Sign a Document in TaxFolder.
- Clients can click the drop-down list in the View column to enter the signature/approval process for pending documents, or to download the signed version of the document.
- Once done, they can click Exit to return to the Your Engagements screen.

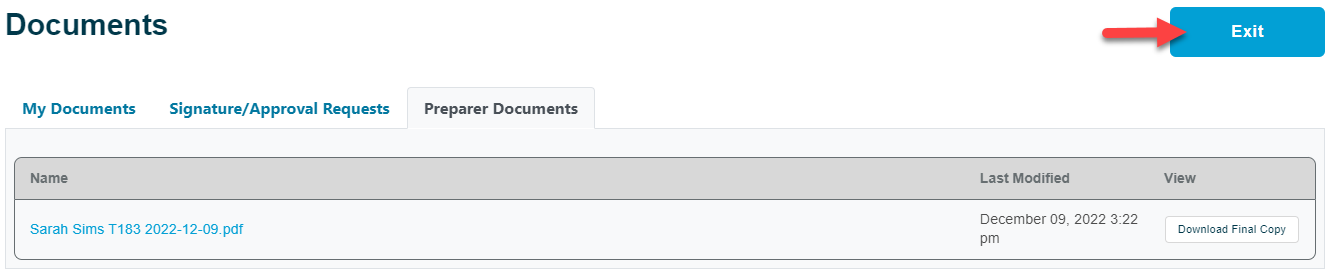
Preparers Documents Tab
On the Preparer Documents tab, clients can view and download any documents you have uploaded but they cannot add or delete any documents.
For more information on how to share documents from TaxCycle to the client portal, see the Share Documents With Clients via TaxFolder From TaxCycle help topic.
Once done, clients can click Exit to return to the Your Engagements screen.
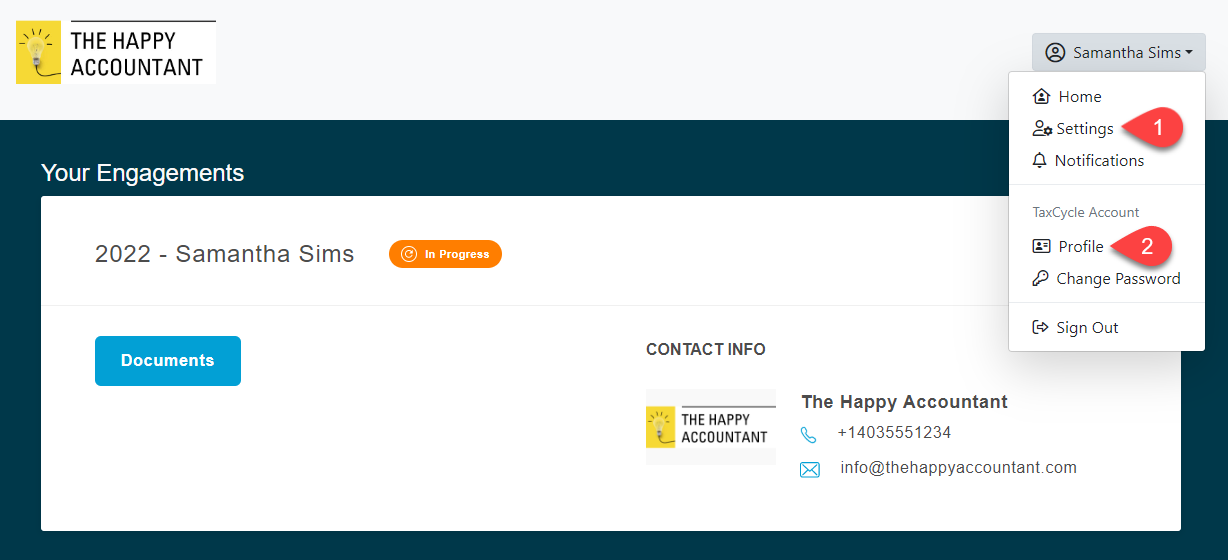
Settings and Profile
- From the Your Engagements screen, clients can click the drop-down arrow next to their name and select Settings to navigate to a page where they can set their language preference.
- Clicking on Profile from the same drop-down menu brings the client to their TaxCycle account, where they can manage their login credentials and password.
Sign Out
While your clients’ sign-in session will automatically expire after a period of time, it is important to remind them to Sign Out of the client portal when they are done, especially if they are using a shared computer.
We recommend that clients add Two-Factor Authentication (2FA) to their TaxCycle account. This step provides an extra layer of protection for client documents stored in their TaxFolder account. For more information, see our Two-Factor Authentication (2FA) help topics.