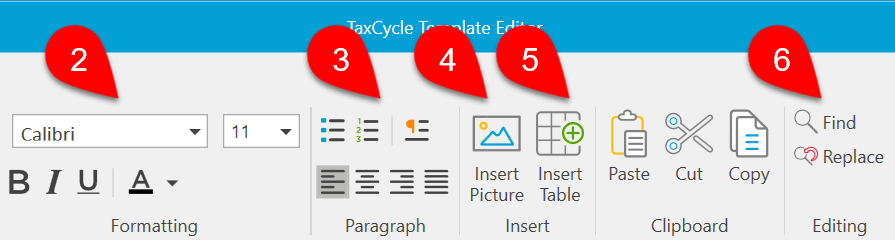
The Template Editor has text controls like other word processors you are familiar with. Use these to adjust the font, insert pictures and tables, and find/replace text as needed.
Type text into the edit side of the Template Editor to add your own wording. If you only want to change wording and not field codes or conditions, avoid text between the double braces {{ }} (curly brackets). Inadvertently changing this can break the links to the data in the client file.
Like any word processor, you can adjust the font name, size and colour, or apply bold, underline or italic formatting. Avoid starting or stopping a formatting change in the middle of a set of double braces {{ }}, as partially formatting a field code can break the links to the data in the client file.
Add bullet and numbered lists or change the paragraph alignment. Click on a paragraph, right-click and select Paragraph to adjust indentation, spacing and paragraph properties. This includes whether the paragraph will break across pages.
Insert an image into the template. Right-click on the image and select More layout options to adjust the position, size and text wrap around an image.
Insert a table into the template, then right-click on the table and select Table Properties to edit the border, shading, padding and more.
Press Ctrl+F to find text within a template. Ctrl+H opens the find and replace boxes.
Press Ctrl+Z and Ctrl+Y to undo and redo changes to the template.